How to make a pinch pot
Pinch pots are the ideal project for newcomers to hand-building with clay; perfecting this technique is a fantastic way to start developing your clay-craft skills.
Most instructors will start people making pinch pots to get a feel for the clay – to develop a sensitivity to the material and its working properties. It is a relatively simple technique because it’s an instinctive way of handling the material, but nevertheless requires practice to perfect. This project teaches you the basic making techniques, with lots of tips for success and development.
Practical tips to get started
Hot hands dry clay out quickly, which can be a problem when pinching because it can cause cracking – the problem gets worse the more time you take to work on a piece. The problem is simply remedied by cooling the hands under cold water periodically, and working as quickly as possible.
A small amount of clay will pinch out a long way, and the technique generally is not suitable for very large amounts – you will find that as you gain experience, you can increase the amount of clay you use. Start with an amount that will sit comfortably in the palm of your hand and if you want to duplicate a shape, weigh the clay before you start and keep a record for the next pot.
Before you begin your pinch pot
- Set aside a needle tool or sharpened pencil to put names on the bottoms of the completed pots.
- Have trays and plastic covering ready for drying pots.
Step by step
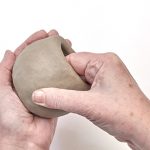
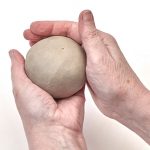 1 Form a small amount of well-prepared clay into a smooth ball that will fit into the palm of your hand – weigh it if you want to make several pots of the same size.
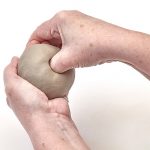 2 Press the thumb of the other hand down through the centre of the clay until you can feel some pressure in the palm of the hand.
 3 The cutaway shows where the thumb should be, inside the clay.
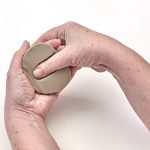
 4 Use your fingers and crooked thumb to pinch out the shape from the bottom of the ball first. Work in small, close pinching movements, rotating the clay in the palm of the hand in a rhythmic action to even out the marks made as you thin the wall.
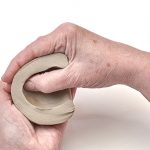
5 The cutaway shows the crooked position of the thumb, which helps prevent the rim opening out too quickly. It is important to keep the rim of the pot quite thick and as closed as possible at this stage. This will prevent the wall from flaring out too quickly and becoming misshapen, and also stop the rim tearing or cracking.
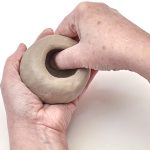
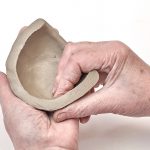
6 Change the position of your hands so that the fingers are inside and thumb outside, and pinch the wall upward and outward in stages. Work the whole form to one, even thickness first, then again a little thinner, and so on.
7 The cutaway shows the new position of the fingers.
8 When you’re happy with the shape of the body, begin to refine the rim – working in small, even pinches to thin it to your requirements between finger and thumb.
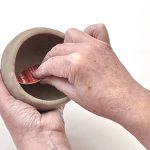
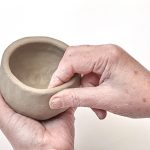
9 Using a small piece of hard plastic to scrape and smooth the inner surface to remove lumps and bumps – keep the pot supported in the palm of your hand as you work. The credit card kidney is perfect for this job because if can be cut to the exact size required.
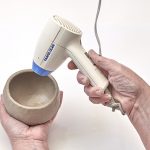
10 If the pot seems too floppy and won’t hold its shape, dry the clay off a little inside and out with a hairdryer.
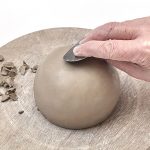
11 Place the pot rim down on a board then carefully scrape the surface with a plastic card to again even out the wall and remove any lumps and bumps.
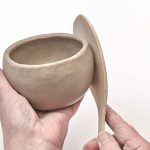
12 If you need to refine the shape of the pot, paddle the walls into the required shape with a wooden spatula.
Tip: You can paddle the walls in this way to change the shape of the whole pot once it’s been pinched to the desired size
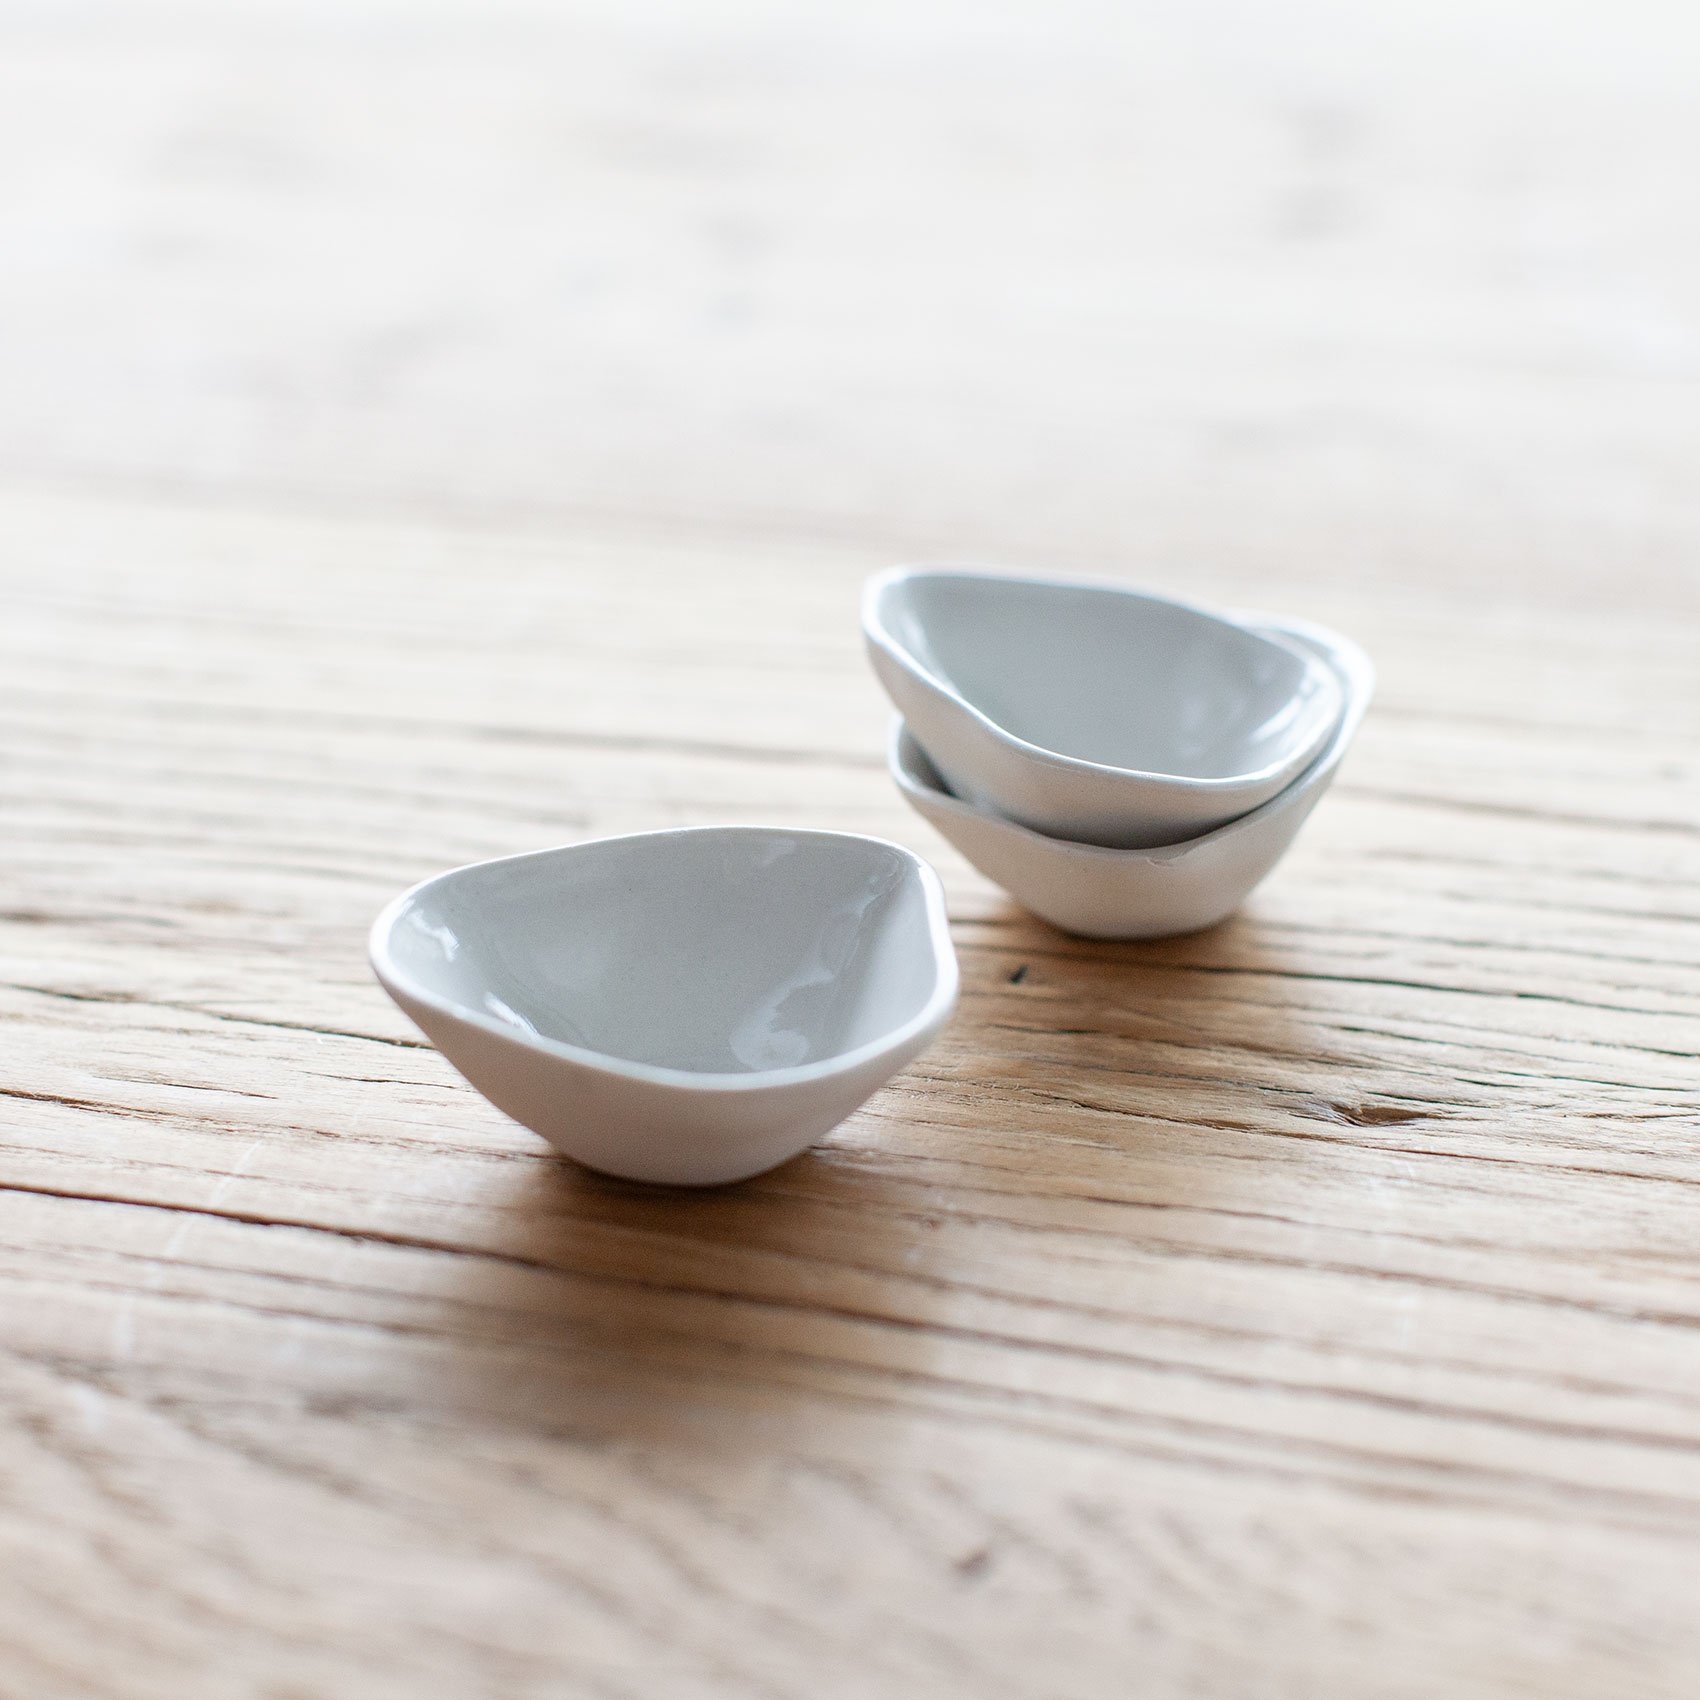
Once you are finished creating your pot, cover it up with plastic and set aside until your pot is dry enough for slip application. Alternatively, you can just glaze your piece instead of decorating with slip. Keep in mind that your pot will turn out white if you are using a light coloured clay body.